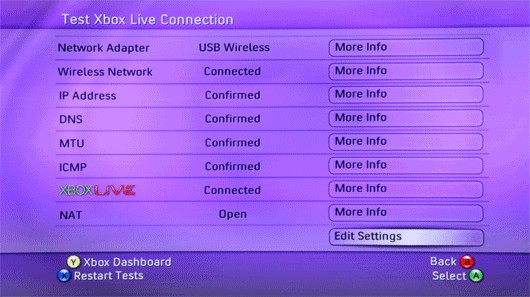
 This guide will show you how to set up wireless on older versions Xbox 360 system software.
Once you've connected to the Internet, your Xbox 360 will prompt you to update to the latest system software. You won't be able to sign in to Xbox LIVE until you've done this.
- Instructions for the New Xbox Experience (NXE) Dashboard
Released for all systems between November 2008 and December 2011 - Instructions for the Original Dashboard software
Installed on all Xbox 360s sold prior to November 2008
1. Instructions for the New Xbox Experience (NXE) Dashboard
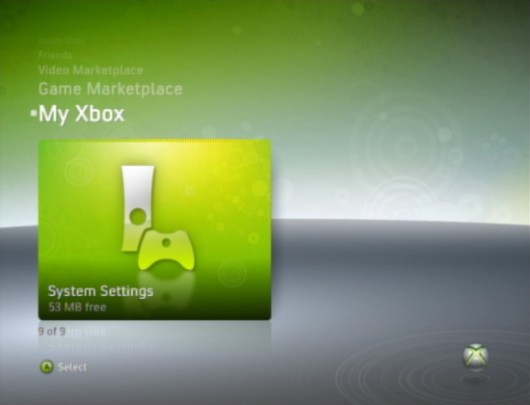
1. Press
up or
down until you get to
My Xbox. Press
right to scroll through the options until you get to
System Settings and press
A.
2. From the
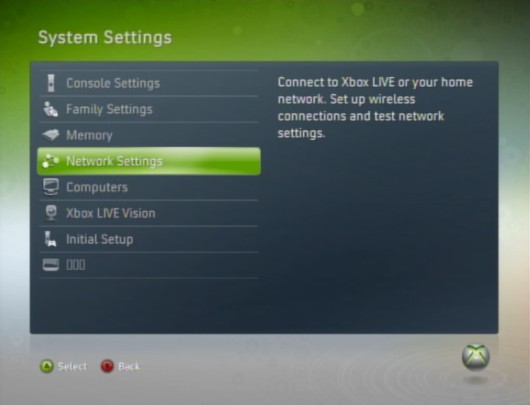
System Settings screen, choose
Network Settings then
Configure Network.
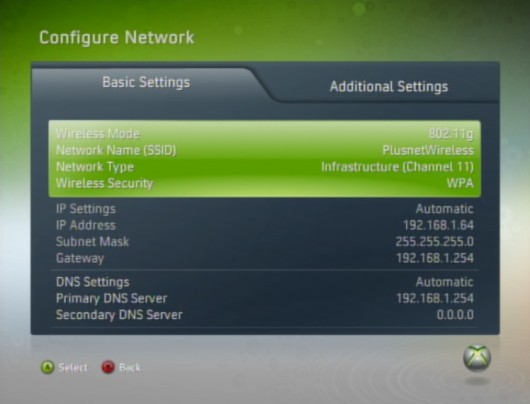
3. From here, highlight the wireless information block and press
A. Then select
Scan for Networks.
4. Select the name (SSID) of your wireless network. If your router isn't broadcasting this, choose
Specify Unlisted Network and enter the name.
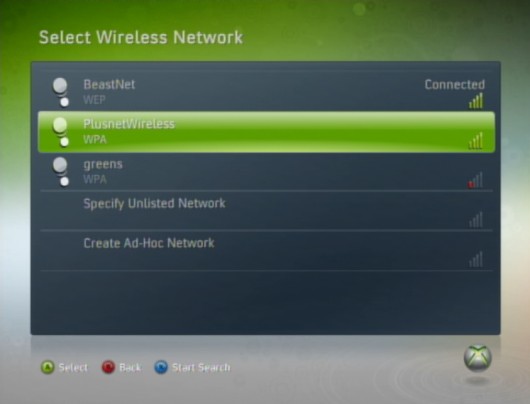
5. If your network has wireless security, enter your WEP or WPA key. Press
Start when you're done.
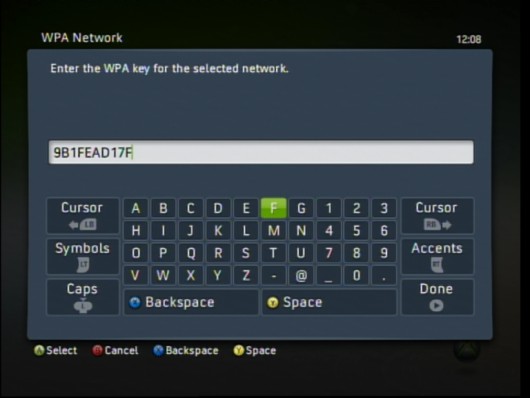
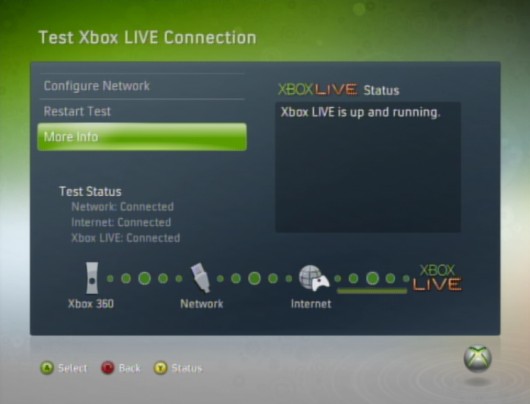
6. You'll be taken back to the Network Settings screen. Select Test Xbox LIVE connection to make sure everything is working properly.
2. Instructions for the Original Dashboard software
1. Press
right on your joypad until you get to the
System Blade. From here choose
Network Settings.
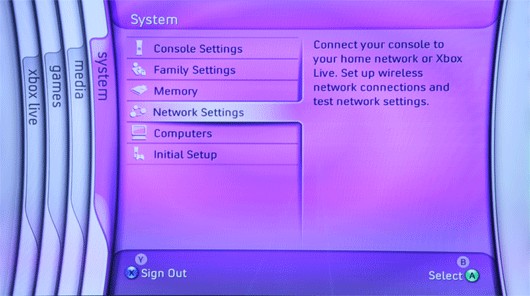
2. From the
Network Settings menu, choose
Edit Settings.
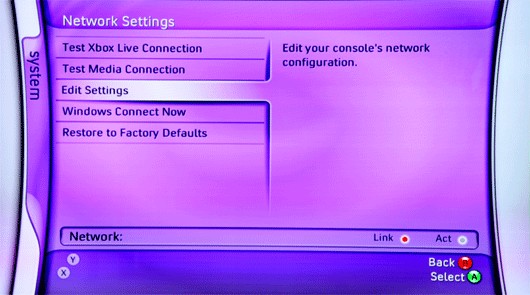
3. From the
Edit Settings screen, highlight and select the wireless settings block at the bottom.
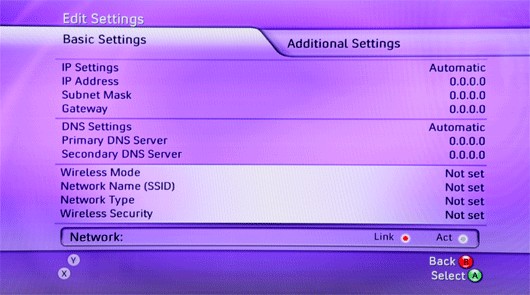
4. Select the name (SSID) of your wireless network. If your router isn't broadcasting this, choose
Specify Unlisted Network and enter the name
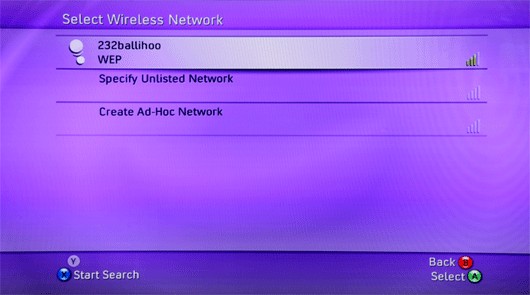
5. Enter the appropriate security settings and password - check your router instructions if you're not sure about this. Press
Start button when you're done.
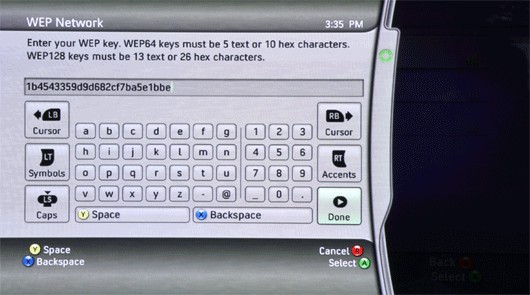
9. On the Apply Settings page choose
Test Xbox LIVE. You'll see a screen telling you that your Xbox 360 is connected.
